Friday, October 16, 2020

Pork Roast Beast for Any Occasion


Roast Beast for Any Occasion

Hi Friends! This is a large pork butt shoulder roast. I prepped it to go with several different meals, from shredded roast or pork steaks with onions and potatoes, tacos, soup and more.  You could also use a cross rib beef roast.  This meal prep is easy and again, the product can be used for varied dishes.  

Let's get to it, shall we?

Ingredients

1 2-pound pork shoulder butt roast or, beef cross rib roast
1 1 large or 2 medium white onions, sliced into discs
several sprigs fresh rosemary
fresh thyme 
1 entire head garlic, paper removed,smashed
1/2 -1 pound baby Yukon gold potatoes
salt and pepper
extra virgin olive oil
Your favorite beer or Sauvingon Blanc, two cups


I had several larger Yukon Gold potatoes so I halved them.  In making this dish again, baby potatoes are much easier and faster to cook.  Season the layer of potatoes with fresh rosemary and thyme and hefty pinches of salt and pepper.


Using a boning knife, stab the roast all over the top and bottom.  Roll the whole head of garlic like you are rolling a lime to loosen the juice inside.  Remove the garlic paper and pull off all the cloves and remove their paper.  Stuff the roast entirely, top and bottom. 
Season all sides of the roast with salt and pepper. 


After plugging in the garlic cloves, stuff each with fresh rosemary, too, top and bottom  (Let's see how many of you will notice my blooper in a photo, and yes, I fixed it!).


In a large pot or skillet with 4 tablespoons of evoo over high heat, sear every side of the pork roast.  

**Between the photo above and below, can you spot the error I made?  I did fix it. 

Preheat the oven to 300-degrees.  


Place the seared pork roast over the bed of potatoes and onion.  Add a half bottle of beer or Sauvignon Blanc to add moisture and aromatic flavor and cover. 

Roast low and slow in the oven for 2.5 hours at 300-degrees.  This is not a braise.  This is a roast and for the last thirty minutes, crack the lid to allow the fluids to reduce. What an incredibly amazing aroma that is going to be!  Wow!

Remove and allow to cool.  Afterward, do with it as you will.  We have already talked about the different dishes you could make out of this one roast.  Enjoy!

As always, Thank You for sticking with me, for coming back, or for just joining me.  It means a great deal to me.  ❤

Now, with that, Go Cook Something For Someone You Love!  

~Martin
In-House Cook


Thursday, October 15, 2020

In-House Cook: Pesto Chicken Tenders with Baby Tomatoes and Fettu...

In-House Cook: Pesto Chicken Tenders with Baby Tomatoes and Fettu...: Pesto Marinated Chicken Tenders with Baby Tomatoes and Fettuccine I know, I know.  You look at the photo above and it does not appear fantas...

Pesto Chicken Tenders with Baby Tomatoes and Fettuccine


Pesto Marinated Chicken Tenders with Baby Tomatoes and Fettuccine


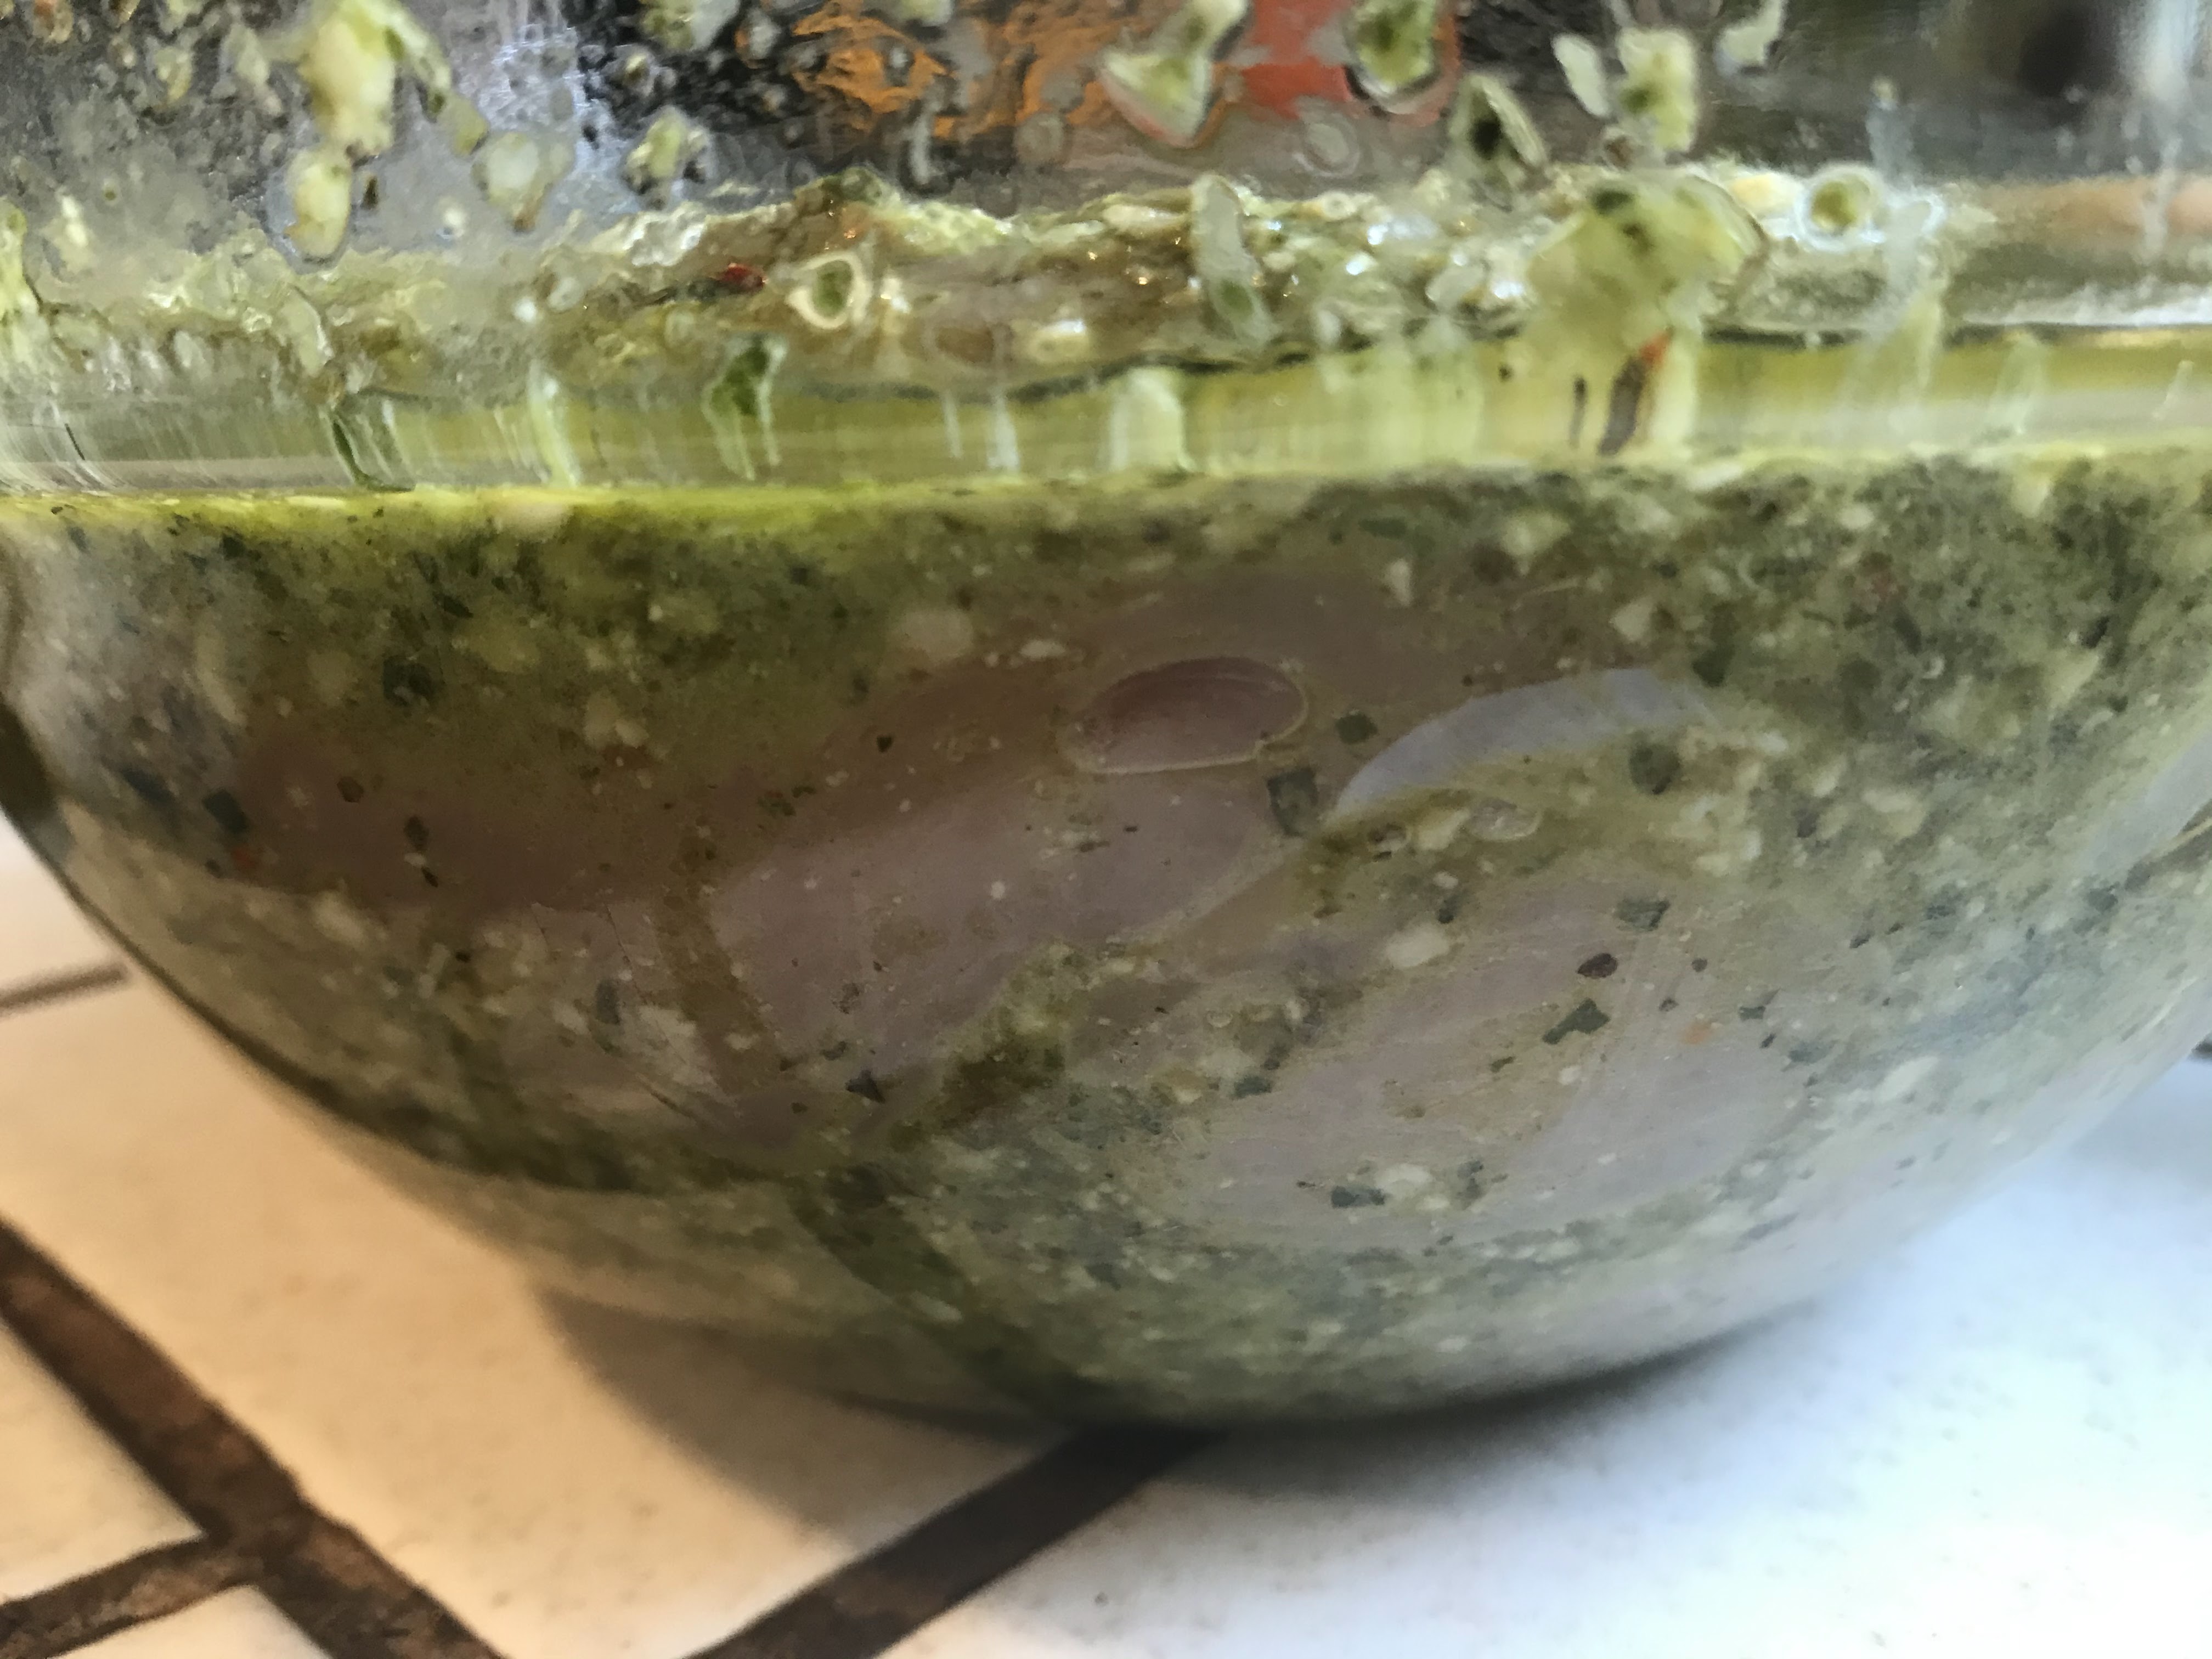
I know, I know.  You look at the photo above and it does not appear fantastically appetizing.  There are epic fail reasons all my own for that.  One, the lighting was forest fire smokey daylight sky.  Poor people and all that they lost.  My heart and prayers go out to them.  Two, the dish I made was made to serve 4 - 6 people for three plus days and the container it went into was HUGE and it spread out all over.  In hindsight, I should have used another pint or two of tomatoes.  Because the person who asked me to cook does not like onions, there are no onions in the dish you will see today.  However, in the ingredients section, I am including onions. Despite the aesthetic fail, which I ask you to please forgive, and which will be explained later, the flavors were on point.  Let's get to it, shall we?


Ingredients

2 pounds chicken tenders, or, 3-4 chicken breasts

6 - 10 leaves fresh basil

several sprigs of fresh thyme

3 tablespoons + one tablespoon dried Italian seasoning

1 large red or yellow onion, coarsely chopped

6 garlic cloves, sliced into discs

4 pints baby tomatoes, whole

1 box (or part of) your favorite pasta

2 tablespoons tomato paste

zest and juice of half a lemon

3 tablespoons red or white wine vinegar or white balsamic vinegar

2 jars of pesto or make your own homemade pesto

1/4 cup shaved or coarsely grated Parmigiana Romano

salt and pepper

extra virgin olive oil


In a large bowl place half of the pesto, two tablespoons dried Italian seasoning, pinch salt and pepper, some of the lemon zest and juice, a splash of the vinegar and thoroughly combine with a tablespoon or two of evoo.  Place the chicken tenders in the pesto. I asked for a big bowl because there is a lot of chicken going into this meal to feed a small army.  You can, of course, reduce the amounts of all of the ingredients, or, simply freeze it into separate meals.  Just some helpful ideas. Finish placing the rest of the chicken tenders into the pesto. 

If you are using chicken breasts, slice the chicken breasts into tenders and follow the same procedure.  Place more pesto over the remaining chicken.  Try to save some of the pesto, but if, not, no worries.  

Set the large bowl aside to marinate for about thirty or so minutes.  Longer is better, if possible. 


Set the chicken aside to let the flavors marry and give the chicken a flavor and tenderizing soak. 

When you remove the chicken tenders to sautee, place the tomatoes and *onions and garlic into the bowl with some of the marinade. Give the aromatics and veg a little soak, too!


In a skillet over medium-high heat, add three tablespoons of evoo.  When the oil begins to ripple, add the chicken tenders in batches and place the finished pieces on a plate while the rest finish cooking. The skillet will get crusty on the bottom due to the pesto.  Use a wooden spoon to scrape up the burnt on bits and save it for the the final product!


Meanwhile, bring 4 - 6 quarts of water to a boil in a large pot over high heat.  When the water is at a roiling boil, liberally salt the water. It is the......?   Yup....the only chance you get to season the pasta itself. 

Slice the chicken into bite-sized pieces and set aside. 


Now here is the fun part! Once the pasta is just before done, or al dente, about 8 - 10 minutes, save half a cup of the starchy pasta water and then pour the pasta into a strainer. Add three tablespoons evoo into the pot over medium-low heat, add the remaining dry Italian seasoning, the chicken, the remaining pesto, half of the fresh herbs, the onions, garlic, and baby tomatoes.  Add the hot wet pasta atop that and toss gently until everything is coated and smelling divine.  The pasta will take on a greenish tint but the aroma is on point.  Grate or add the Parmigiano (or, Parmigiana) Romano over the top to melt in and give it a salty bite and you're ready to serve!


Not pictured (because I forgot):  Sprinkle the remaining fresh herbs atop the hot pasta along with the cheese.  

Serve either family style, or buffet style. I suggest freezing the remaining pasta for another day.  

***If you do not want any meat, add extra vegetables, such as broccoli, bell peppers or what you like, and create a vegetarian-ish meal.


As always, Thank You for your time and your patience!  Thanks very much for sticking with me during my absence.  There's more to come!  

~Martin

In-House Cook


Sausage or No Sausage? That is the Question for my Andouille Penne and Veg Bowl.


Andouille Sausage Pasta and Veg Bowl


I have never met a pasta bowl I have not liked.  They always have surprises in there somewhere. Something you love, or, you might place something in there for a loved one. For me, I love to to add fresh onion, garlic, fresh herbs, Fresno chile and sausage slices.  I love andouille, but also smoked Kielbasa, hot links, apple jalapeno, basil, Dakota brats, salami, soppressata and many others.  As you can tell, there are a bazillion different combinations!  The only limit is your imagination!

For now, it's all about me, heehee, so let's get to my simple, fresh, mostly healthy and flavorful bowl. 


Ingredients

Sausage, two links per person, sliced

1 small red onion, thickly sliced into slivers

1 or 2 pints of mixed baby tomatoes (depends on how much you love tomatoes), whole

fresh basil

fresh thyme

2 - 4 Fresno chiles, sliced into discs

2 cups penne pasta

salt and pepper

1 teaspoon dry Italian seasoning

1 lemon, half zest, half juice

2 - 3 tabs butter


In a skillet, sautee the sausage slices in a little evoo.  Get a good color, even a char on both sides. 


Slice or grate three or four garlic cloves and place them in a bowl. Add the washed tomatoes and the onion crescents. Add the lemon zest and juice to the bowl along with a good drizzle, about three tablespoons, of white balsamic vinegar.  Toss and let marinate for about an hour. 


Marinate the veg for upwards of an hour.  The longer the better.  In a pot with about four quarts of water over high heat, add two cups of penne pasta when the water comes to a roiling boil.  Also, liberally salt the water, as it is the only chance you get to season the pasta itself.  With that in  mind, you now have two choices:  Sausage or Vegan meal?  If you do not want sausage in your bowl, follow the directions without adding the sausage part.  This can be an almost purely vegan bowl (except the butter, which CAN be replaced with 4 tablespoons of evoo).


Boil penne about 8-10 minutes, testing a penne noodle at 8 minutes to see if it is al dente or fully cooked.  In any event, save a half a cup of the starchy pasta water and pour the pasta into a colander or strainer.  Reduce the heat to medium-low.  Add the butter, fresh herbs (basil and thyme) and let the butter begin to melt and then pour in the entire bowl of the veg, marinade and all.  Add the hot penne atop that and the pasta water and using a large spatula, toss several minutes to coat everything and continue the cooking process.  The hot pasta may cause some of the tomatoes to pop and the pasta water will allow the penne to absorb the many delightful flavors in that big old pot. After about five minutes of stirring and tossing, remove from the heat, turn the heat off, and let it sit several minutes more. Again, you can either leave this part vegan or add the sausage if desired and toss it together.  


Serve any way you like.  I like adding a sprig of basil or thyme and a little dusting of fresh hand-grated parmigiano reggiano.  

This is a great dish for either two or many more.  You control the number of sauages (remember, two links per person) and two cups of pasta easily feeds four).  Two pints of tomatoes should be used to feed four hungry mouths.  The onion and garlic remain the same.  


Once again, Thank You all for sticking with me.  I appreciate you all very much!   Please enjoy this recipe and drop me a note here or on my blog's facebook page about your experience.  Thanks!

~Martin

In-House Cook


Ground Turkey Lasagna


Ground Turkey Lasagna


I have been partial to ground turkey ever since a dear friend and colleague, rest her soul, taught me how to make ground turkey tacos.  Since then, this was in the early 2000s, she taught me how to use ground chicken and turkey for various dishes, but this was my first attempt at making ground turkey lasagna, and it turned out to be a true gem. 

Some Italian food is heavy and decadent, just the way I like it, but this dish, while using low fat mozzarella, has all of the flavors and delights expected in an old country dish.,  Let's get to it shall we?

Ingredients

1.5 pounds ground turkey

1 28-oz can Tomato Puree

1 14.5-oz can  fire roasted diced tomatoes

6-10 fresh basil leaves, chiffonade cut

**fresh oregano and thyme 

2 rounded tablespoons dry Italian seasoning

2 tablespoons extra virgin olive oil

salt and pepper

2 rounded tablespoons Paprika

3 sloppy tablespoons red wine vinegar

1 small red onion, finely chopped

3 cloves garlic, grated or finely chopped

1 box lasagna noodles, ready-use or need to boil.  You will probably need 12 noodles. 

1 14-oz container ricotta cheese (low fat)

1 large bag shredded low fat or skim milk mozzarella cheese

1 cup parmesan cheese


In a large saucepan over medium-high heat, add the extra virgin olive oil.  When the oil begins to ripple, add the turkey.  Add a good 1/2 teaspoon of salt and pepper, each, and break it up with a wooden spoon and brown the turkey.  It happens quickly, about four minutes.  Add the onions and garlic, the dry seasoning,  fully browned or not, and let cook until the onion starts to look a bit translucent. Add the tomato products and combine well.  Save the smaller tomato can and fill half way with water.  


Add the water in the can and bring the mixture to a boil.  Reduce the heat to low and simmer, covered, for 30 - 45 minutes. 

As the sauce cooks, meanwhile, bring at least 4 - 6 quarts of water to a boil.  Liberally salt the water when it comes to a roiling boil.  It's the only chance you get to season the pasta. Add the pasta and try to separate them and keep them moving so as to prevent sticking. 


When finished, about 12 minutes, remove them or, use a spider to remove them one or two at a time from the pot when you are ready.  At this writing and meal prep, I did not have such utensils, so I used my colander and worked fast.  The procedure is as varied as peoples eye or hair color.  People put it together whichever way they prefer, BUT, if you have a Nonna in your life, it goes together the way She says to put it together, am I right?  

I add a little sauce to the bottom of the pan.  This was a bit extra big and I used a large foil pan as it was feeding four people multiple days. I lay noodles atop that, needing four noodles to this sized foil pan.  Most in home baking pans will require three noodles.  I add small globs of ricotta spread it around with my spoon.  I add some of the fresh oregano and basil atop of the noodles.  I generously add mozzarella atop the sauce.  Four more noodles, ricotta, sauce and fresh herbs, and repeat and repeat one last time until every bit of the turkey sauce is utilized.  Cover the top with mozzarella and parmesan, drizzled lightly with evoo.  


Repeat the process until there is nothing left but mozzarella to place on top.  


Bake for 45 minutes at 350-degrees. 


Your nose will tell you when it is done. There is no escape the aroma of a perfect lasagna, the sides bubbling, the top golden brown, the herbs hot and aromatic.  


Let the pan sit to set (allowing the cheeses to congeal) for about ten or so minutes.  Then cut and serve as you please.  


I want to Thank You (Grazi!) for sticking with the.  It has been forever since my last recipe blog.  I have posted dishes (not blogged) on my humble blog's facebook page, but I am determined to write much more this week.  Please stay tuned, and again, Grazi for sticking with me, friends!  


~Martin

In-House Cook


Monday, July 13, 2020

Full On Franks with Beanless Chili on Artisinal Buns


Full On Franks with Beanless Chili on Artisinal Buns

Summer is all about grilling steaks, hot dogs, burgers, chicken and more. This flavorful dish can be made inside or out on the grill, at a campsite or along a lake or river at a campsite.  I have made chili with and without beans, and with different meats.  My dad made his chili (which should be a food group) with ground beef and steak.  I have done that, I have used pork, I have used turkey and, among my favorites, bison.  I am also a big fan of beanless chili on hot dogs.  I don't mind the beans, but I want the major texture and flavor to come from the hot dogs themselves, not beans.  Again, beans or not, both are good, but I love beanless chili on my hot dogs.  

For fun, I'd love to share this dish with you, followed by another which uses large beef franks as the focus of the dish. Let's get to it!

Ingredients
1 package large beef franks
1 package artisinal buns 
1 28-oz can tomato puree
1 bottle of your favorite Mexican beer
1 14.5-oz can fire roasted diced tomatoes with garlic
1/2 onion, grated or finely chopped
3 cloves garlic, grated or finely chopped
2 fire roasted Anaheim green chiles (or serranos, seeded and ribs removed) diced
3 tablespoons vegetable oil
1.5 pounds 85% lean ground sirloin

Spices
2 tablespoons smoked paprika
1 rounded tablespoon ground cumin
1 tablespoon Chili Molido or Pasilla
1 teaspoon black pepper
1 palm full oregano
1 tablespoon dried thyme
salt

*You can use fresh thyme and oregano, for sure!

Using a sharp knife to score the beef franks on a top and bottom, not the sides. Set them aside. 

Place all of the spices in a bowl. Be sure to rub dried oregano in your palms to crumble it and awaken the flavor. 

In a large pot, add the vegetable oil over medium-high heat. When the oil ripples, add the onion and garlic. Move the aromatics around and enjoy the amazing aroma. Move them to the ring around the pot and add the ground beef.  Get some good color on the beef as it browns.  Color is flavor. When the beef is almost done cooking, add half of the spices and stir to coat the entire mixture with the spices.  

Next, add the wet ingredients (1/2 or 2/3 of the beer) and again stir thoroughly to combine. Bring the heat to high.  Bring the chili to a good boil.  Add the other half of the spices, again, combine thoroughly.  Reduce the heat to low, cover, and let simmer 1 - 3 hours. 


When you are about ready to serve, add a little vegetable oil to a skillet over medium-high heat.  Add the large scored beef franks to the skillet when the oil ripples, meaning it is hot enough to begin searing the meat.  Get some good color on all sides, but you will notice the scored sides with darken, maybe slightly char.  If you like that, go for it.  I do.  If not, just let it evenly get a little color (they'll darken a bit).  


I set my dinner up assembly line style.  Plates, napkins, buns, condiments, hot dogs, garnishes and finally, store-bought potato salad.  Worked very smoothly.  You set up your way and enjoy!!!


The buns were huge so I added two franks to mine.  I ate it open faced sandwich style, using a knife and fork, and I overloaded it with chili -- you can see the onion and diced tomatoes and beef, so aromatic and flavorful -- and used my fork to remove some of the chili just for fun and to the enjoyment of my tummy.  

As always, friends, Thank You for your time and consideration.  I love your visits and I apologize for the tardiness of keeping up on my blogging.  Thank You for sticking with me!

Martin
~In-House Cook


Friday, May 15, 2020

Chicken Wings with Homemade Hoisin BBQ Sauce


Baked Chicken Wings Tossed in Homemade Hoisin BBQ Sauce

I have made chicken wings only one other time.....Adam Gertler's Vietnamese Chicken Wings.  I cannot remember if I blogged it.  Hmmm.  Anyone up for searching my 250+ recipes since 2012?  I do love chicken wings and I had a sudden obsessive craving for them and when I bought a big package of them at the store, duh, I forgot to purchase BBQ sauce!  But, leave it to my pantry to save the day.  I created a delicious Hoisin sauce based bbq to give it an Asian bite.  Try it, you will become obsessed, too!

Ingredients
1 1.5 - 2 pound package of clipped chicken wings, variety pack
1 bottle Hoisin sauce
1/2 bottle Plum sauce 
2 tablespoons Orange Flower Honey
1 teaspoon garlic salt + 1 rounded tablespoon
1 teaspoon garlic powder or fresh minced
1 teaspoon ground black pepper
3 tablespoons apple cider vinegar
2 tablespoons mirin
1 teaspoon fresh grated or powdered ginger
3 teaspoons olive oil
Non-stick vegetable or canola oil spray

In a large bowl, add everything but the chicken and 1 rounded tablespoon of garlic salt and spray. 

Preheat the oven to 400-degrees. 

Use a large fork or whisk, better yet, to combine all of the ingredients extremely thoroughly.  Allow to sit for a few moments.  *You can leave the sauce to sit or, you can place in in a shallow sauce pan and reduce it over low heat for 45 minutes, well ahead of cooking time. By reducing, the sauce's flavors intensify and thickens up. Remove the wrapping from the package of clipped chicken wings.  

Add foil to a baking pan and spray with non-stick vegetable or canola oil spray.  

In a separate bowl, add 2 tablespoons of vegetable or canola oil and half of the rounded tablespoon of garlic salt. Whisk together well and add the chicken to the bowl.  Toss and coat the chicken thoroughly.  If you need more oil, add more oil immediately as you start coating the chicken.  

Use tongs to place the chicken onto the pre-treated foil.  Place the baking pan into the hot oven for 18 minutes.  After nine minutes, turn the wings over.  Let roast for nine more minutes.  


Coated and oven ready!


Turned after nine minutes.  The color should be delightful gold.

After about nine minutes, remove the chicken and allow to cool a little.  Keep the oven at 400-degrees, however. 

Now, use a brush to coat the wings with a generous amount of bbq sauce.  Place the pan back into the oven for 6 minutes.  Remove, turn and coat again.  Roast six more minutes and then remove. 


Add the chicken to a bowl and drizzle a bunch of the sauce over the wings and toss.  Add more sauce if you wish.  I reserve some to drizzle or dip into in a personal little bowl of sauce.  

Serve with whatever condiments and sides you wish.  Potato Salad with hard boiled sliced eggs, or pasta salad.  Delish!


As always, I appreciate your time and consideration.  I am always grateful for your visit!  Please come back and tell your friends!

Now, Go Cook Something For Someone You Love!

~Martin
In-House Cook


Asian Inspired Hoisin Pork Belly Sandwich

  Asian Inspired Hoisin Pork Belly Sandwich I like to get take out for either breakfast or lunch. That has not been good for me, so I decide...